Today I’m going to share a step by step tutorial so you can start taking advantage of the newest features on Postcron. Let’s get started!
How to Schedule your Posts on Social Networks with Postcron
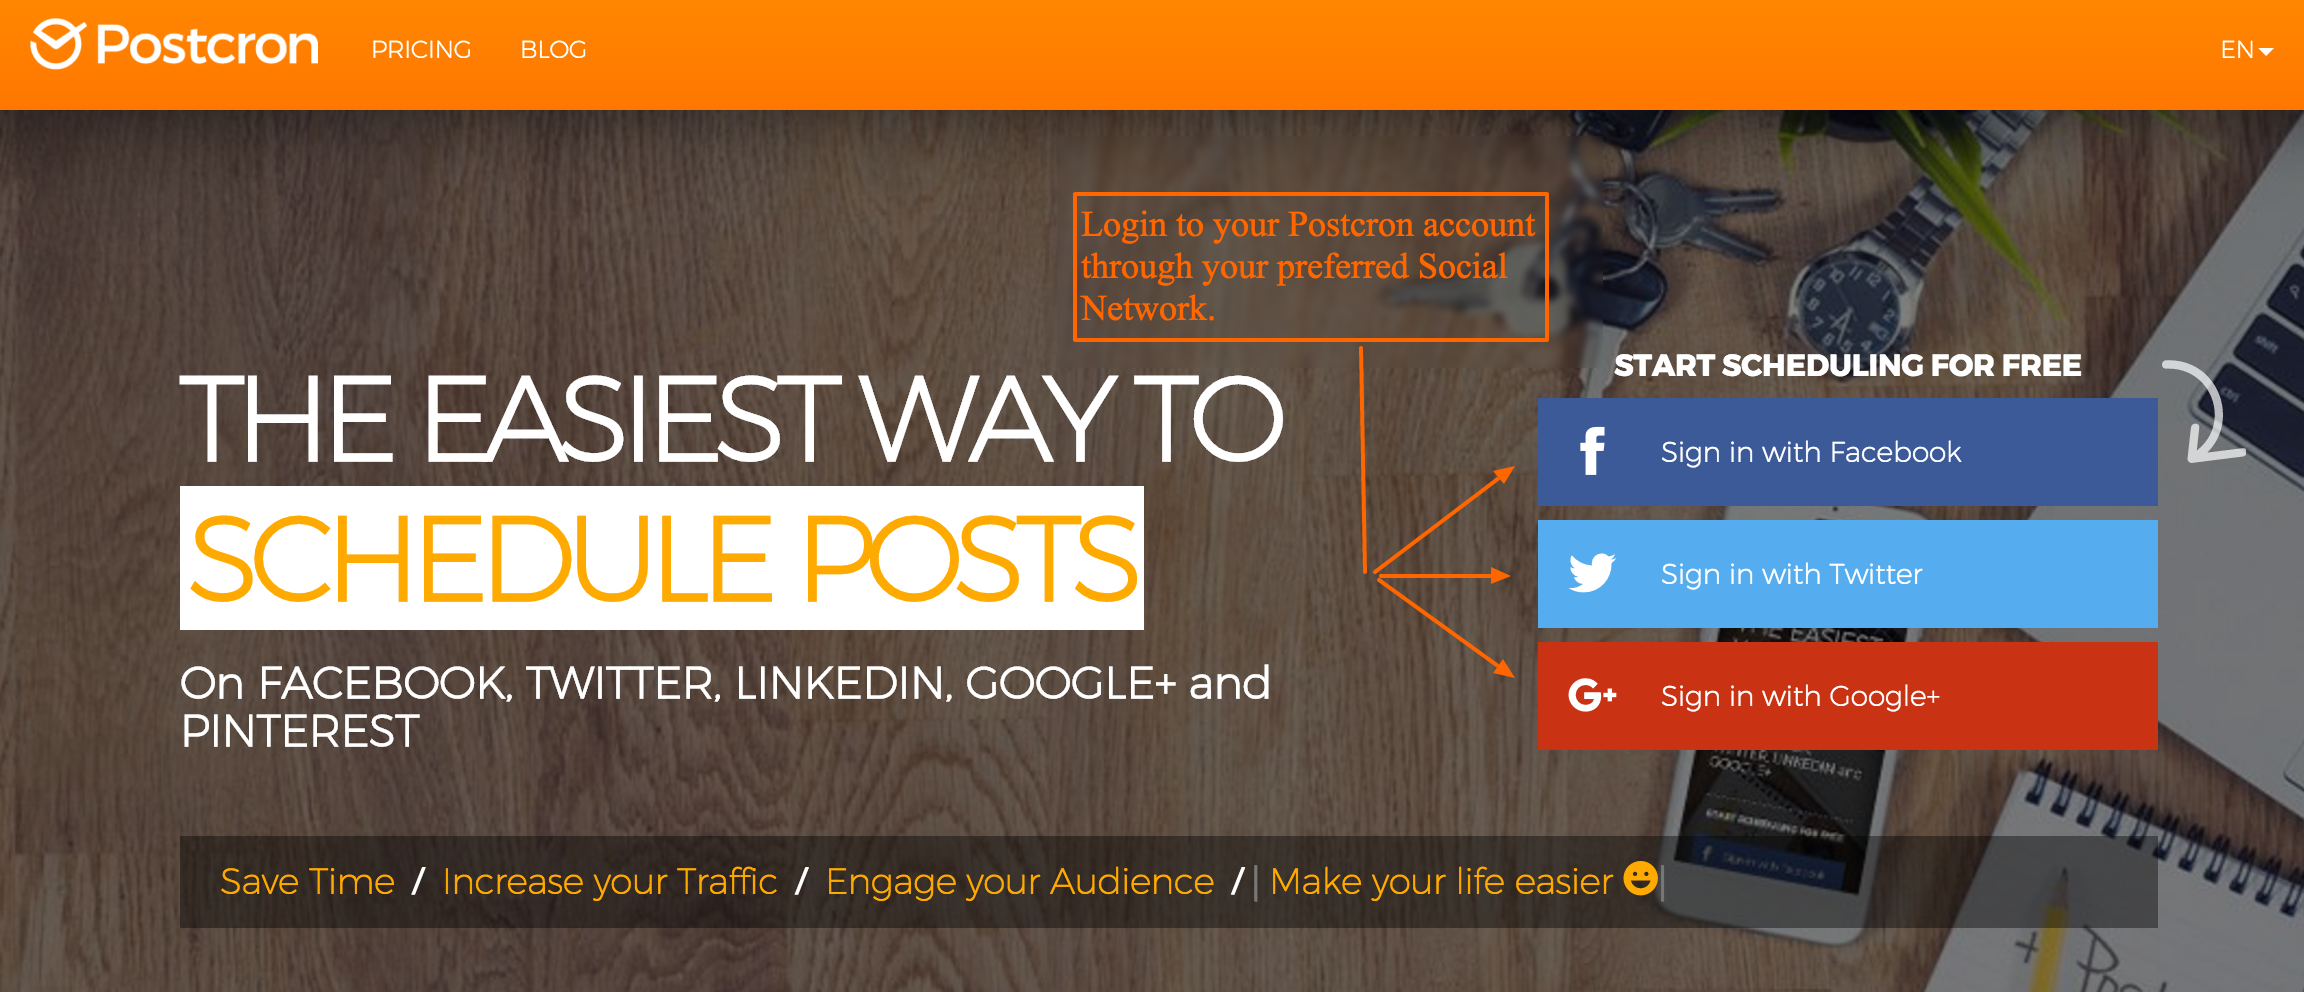
STEP 1: Go to Postcron and sign-in to your account through Facebook, Twitter, or Google+. Note that if this is the first time you’re accessing Postcron, you need to accept all the permissions (and when you login to Facebook, you’ll be asked about the visibility of your posts. Select “public” so that all your contacts can see your posts)
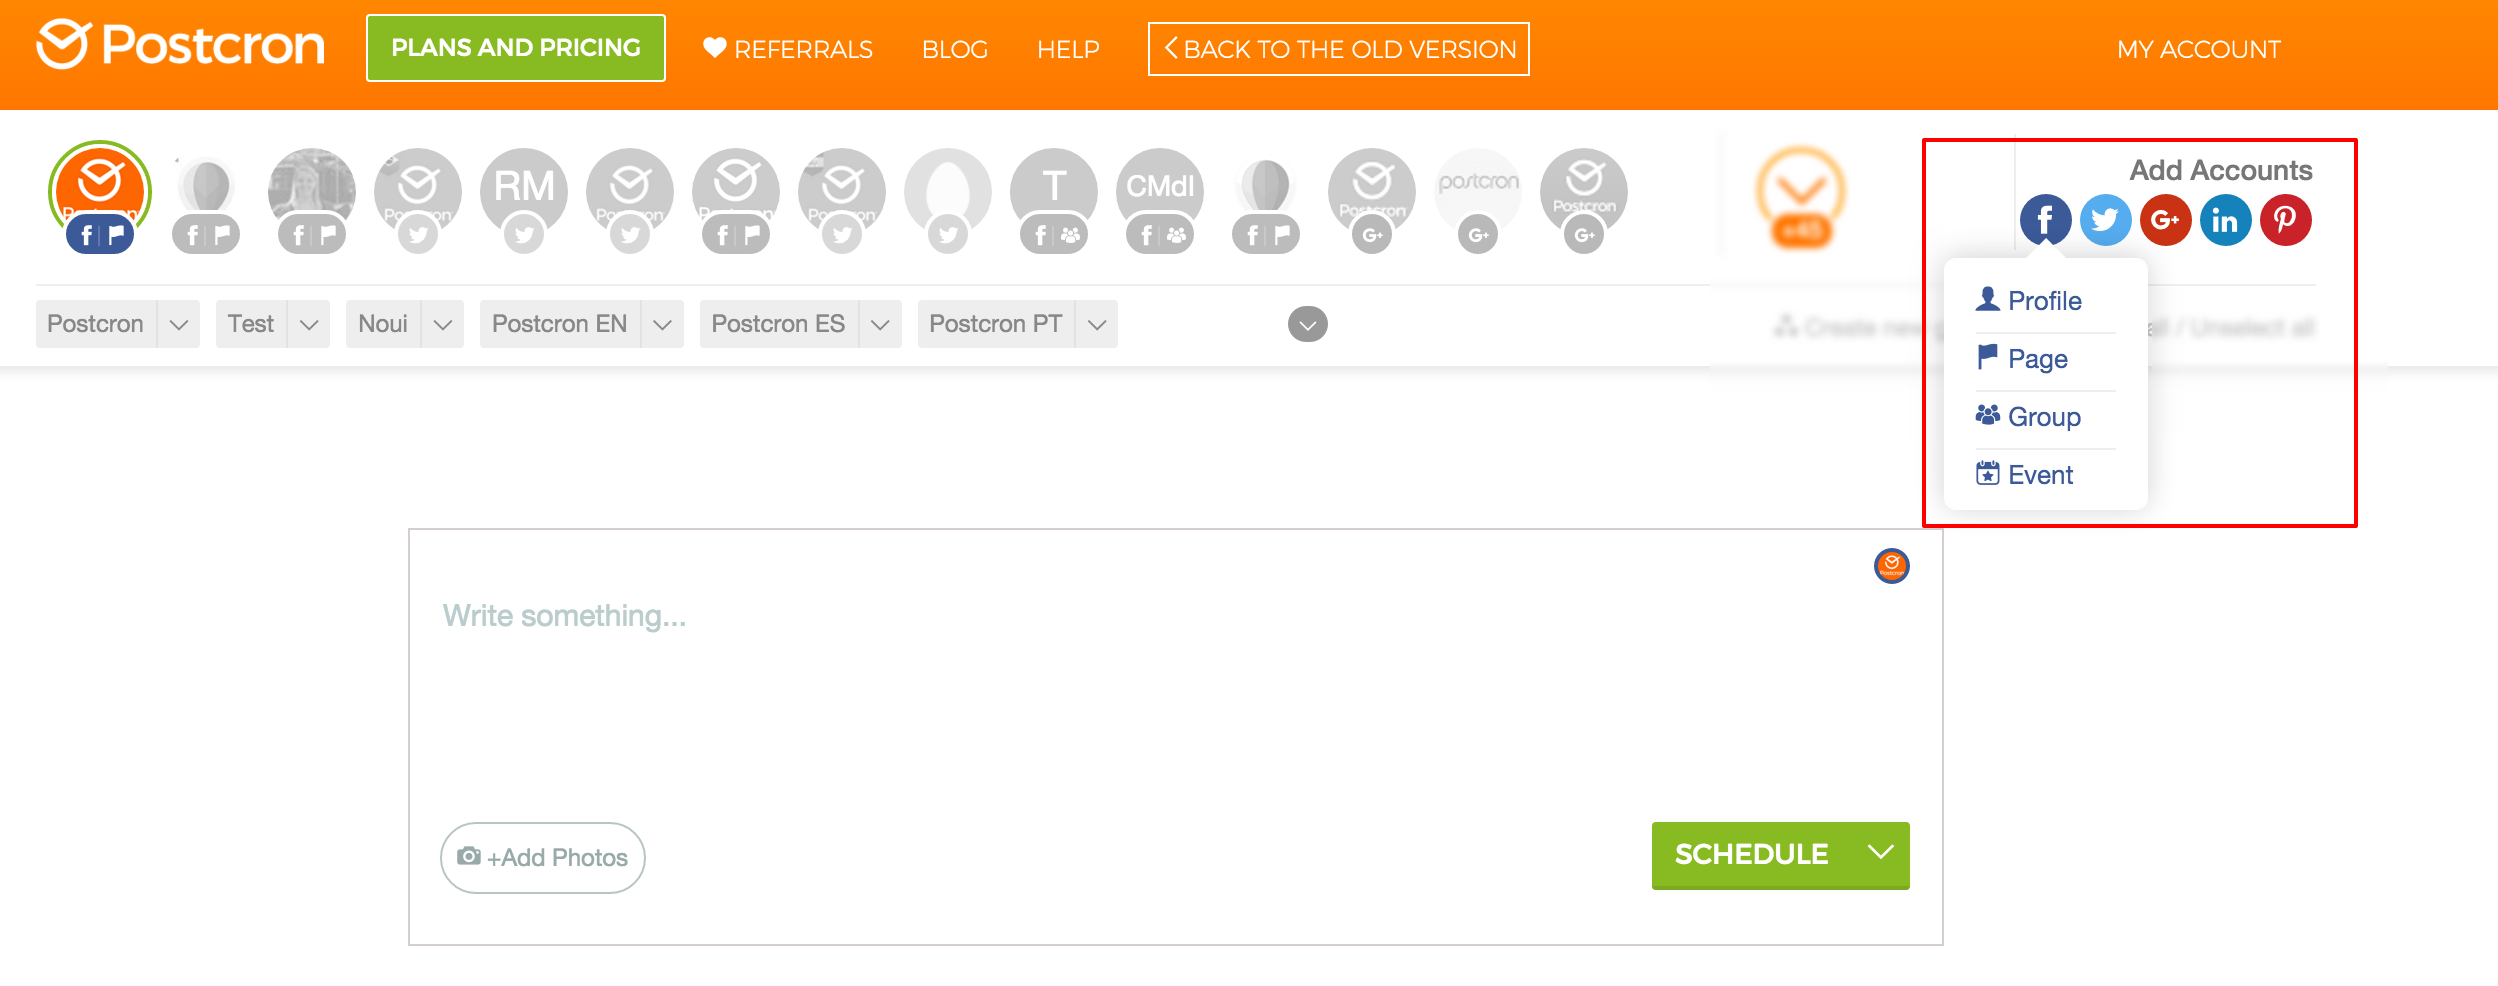
STEP 2: Once you are on the Dashboard, add the accounts where you want to schedule your posts. You can do this via the “Add Account” button on the upper right side of the main panel.
You can add multiple accounts: Facebook profiles, pages, groups, and events. Twitter accounts, Google+ Pages, LinkedIn profiles and pages, and even Pinterest boards.
You’ll see that as you add accounts, they will appear on the dashboard under your accounts panel.
STEP 3: After you’ve added all your social accounts, select the account(s) where you’re going to publish your post (by clicking on the icons for each network). Then you can start writing your post.
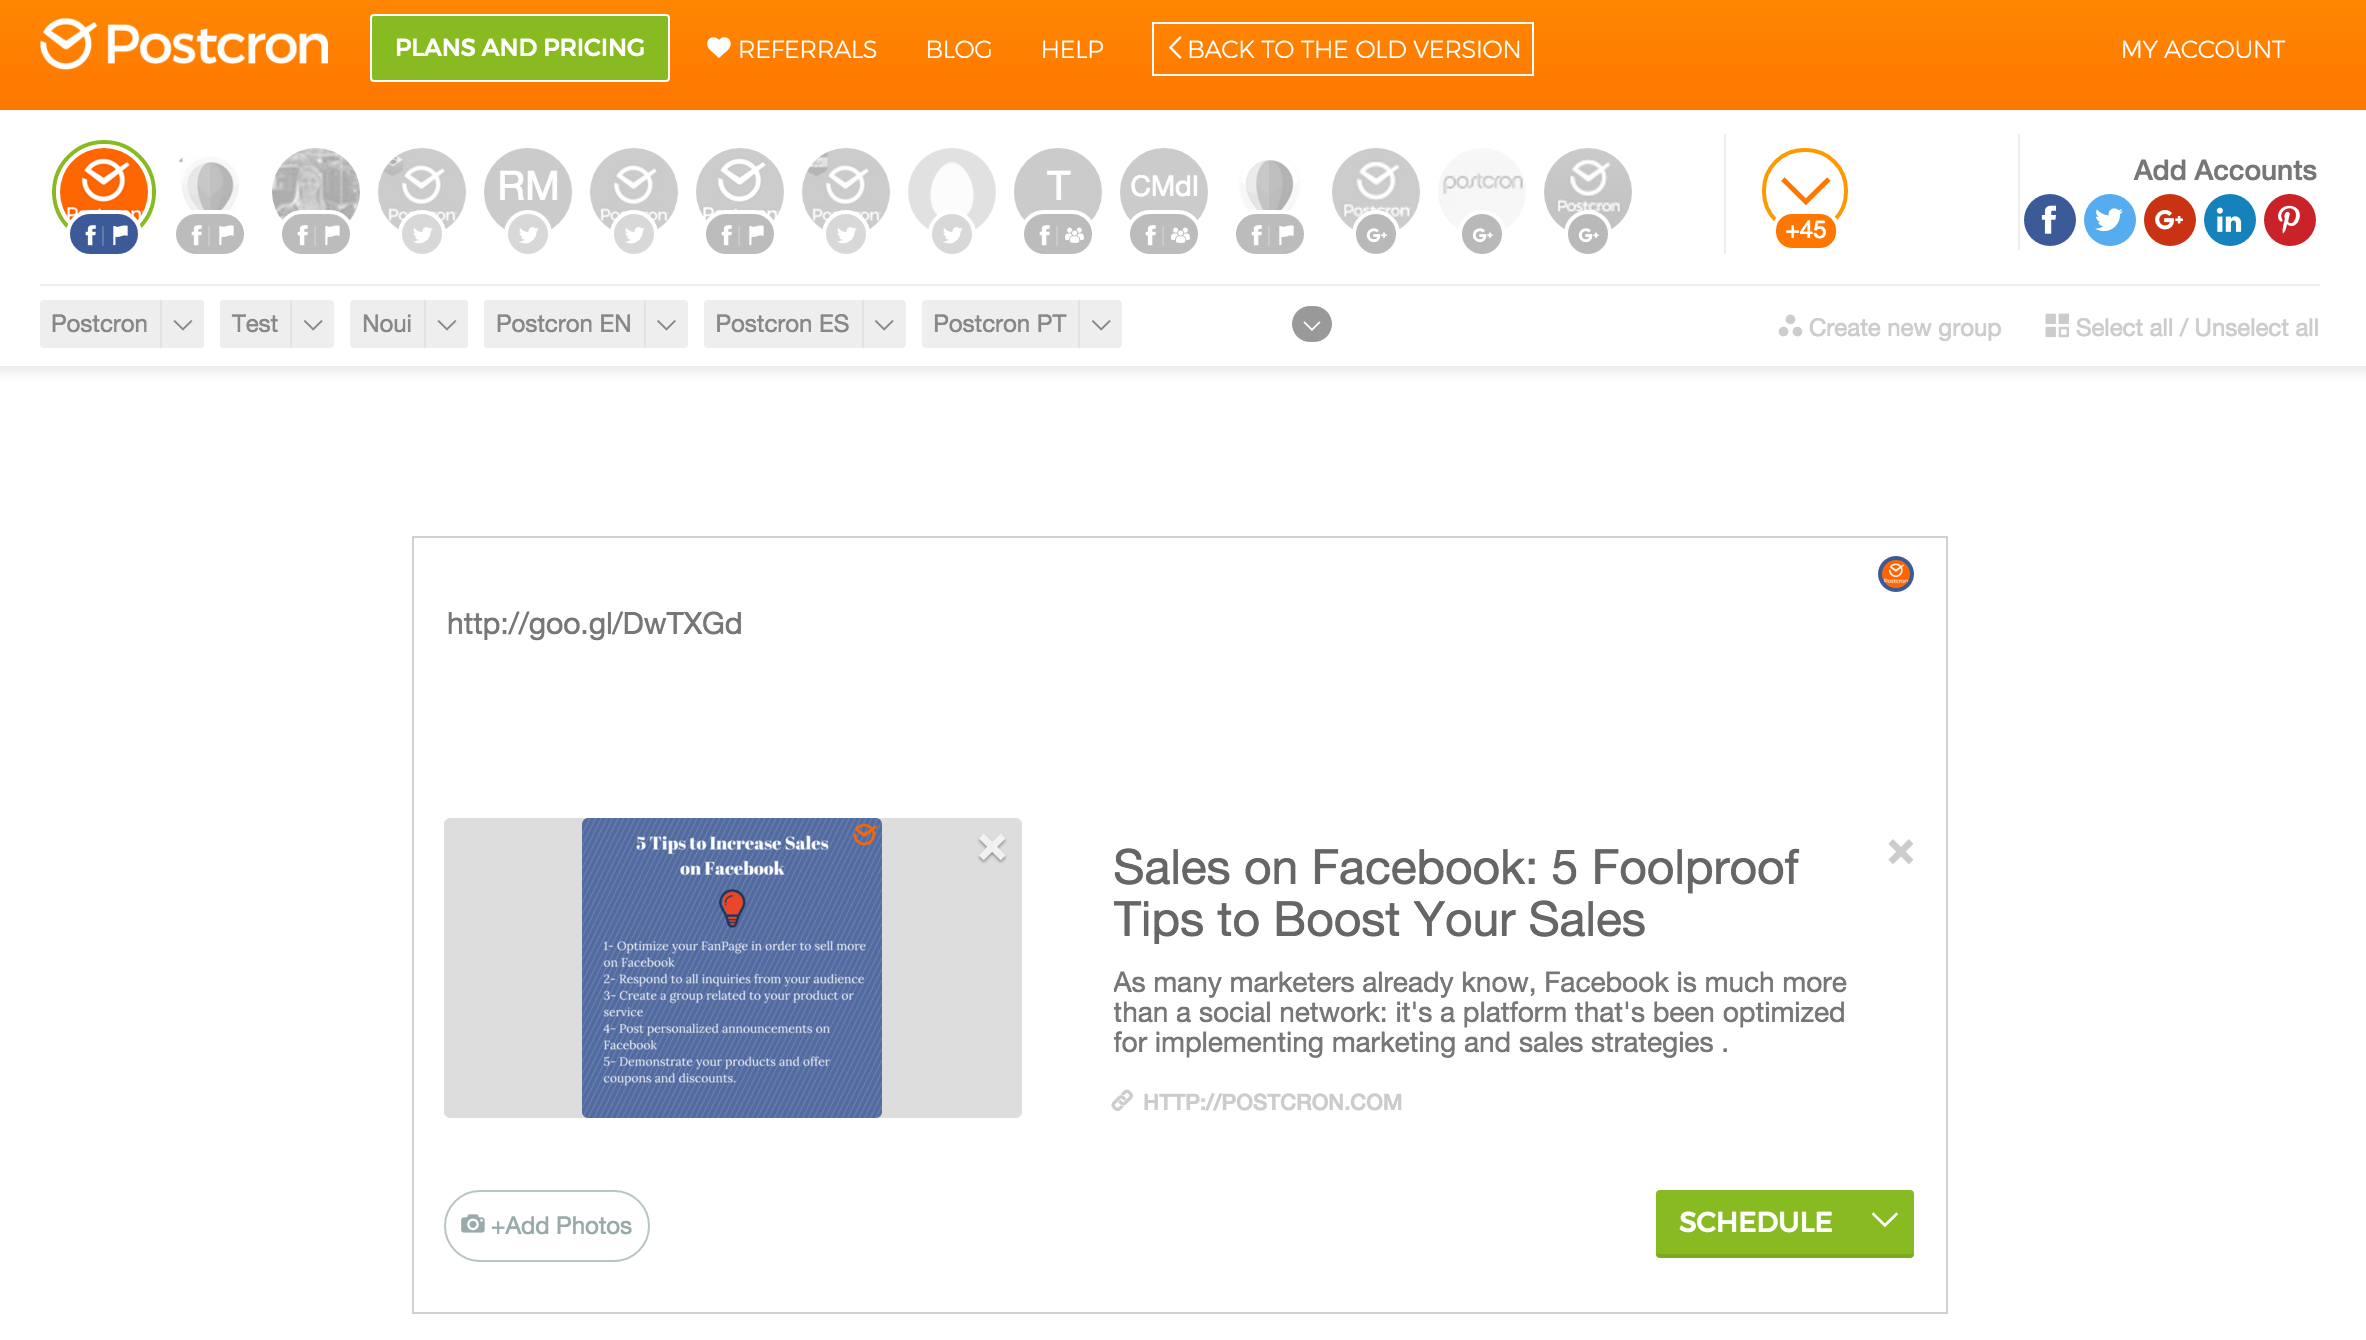
You can share links by typing or just pasting the URL you want to share – Postcron will automatically attach the link info to your post, and shorten the link so that it occupies less space.
To add photos, click on the “Add Photos” button and select the images you want to share. Note that now it’s possible to upload multiple images to one single post !!
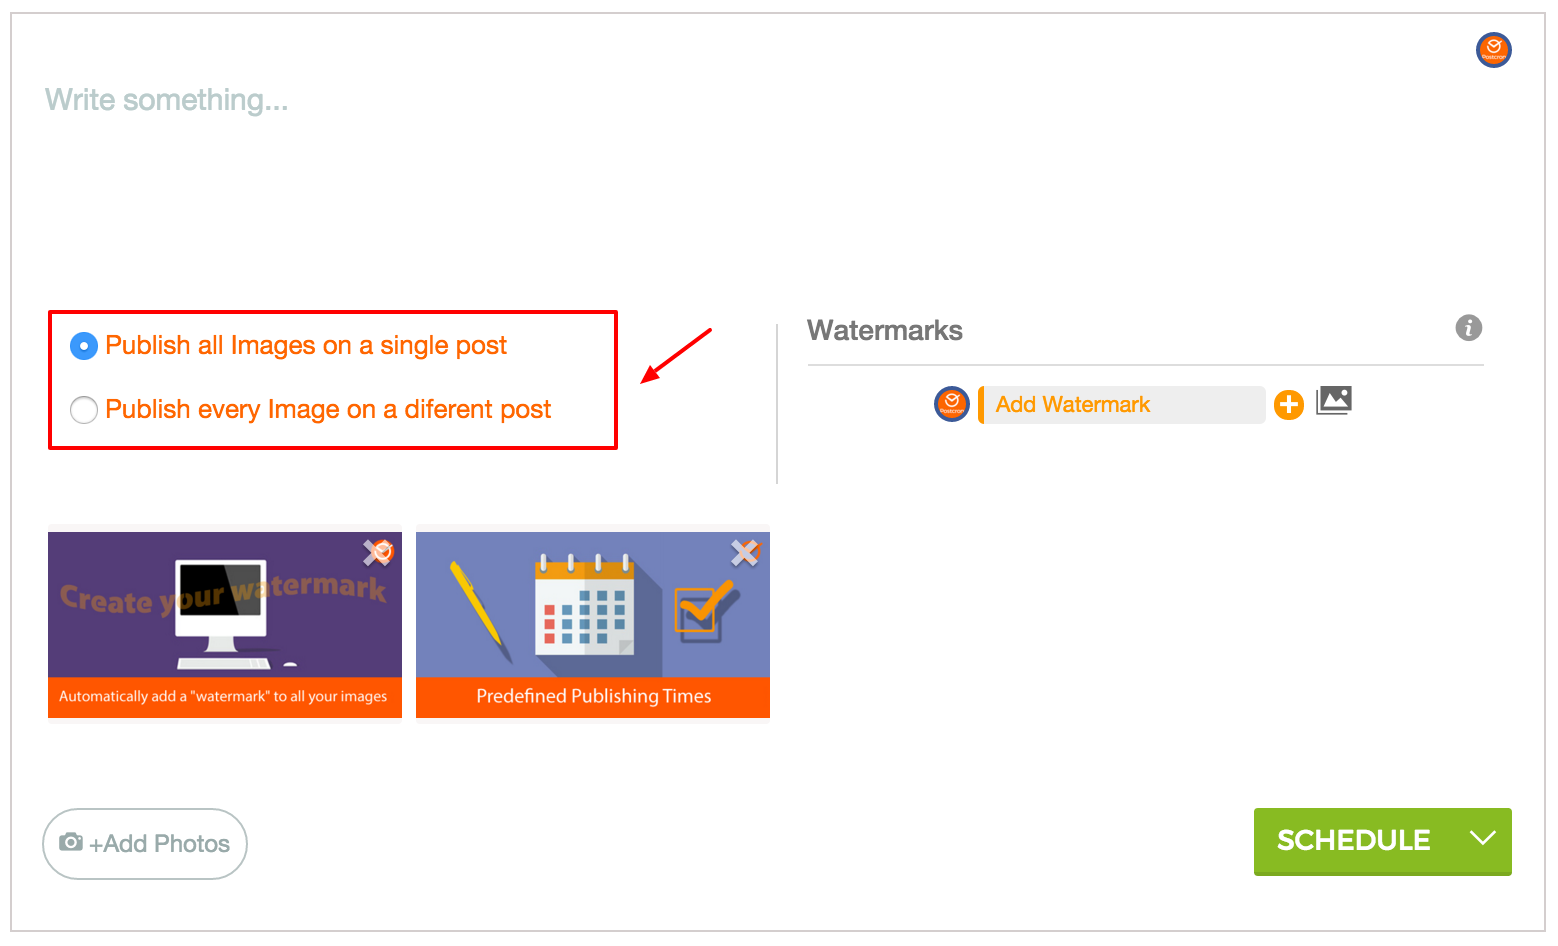
In the case of including multiple photos: when the images are done uploading, you have to decide whether you want to “Publish all pictures to one post“, or if you want “Post each image to a separate post” (as shown below) .
If you select the second option, you will be able to schedule the posts in your Predefined Publishing Times.
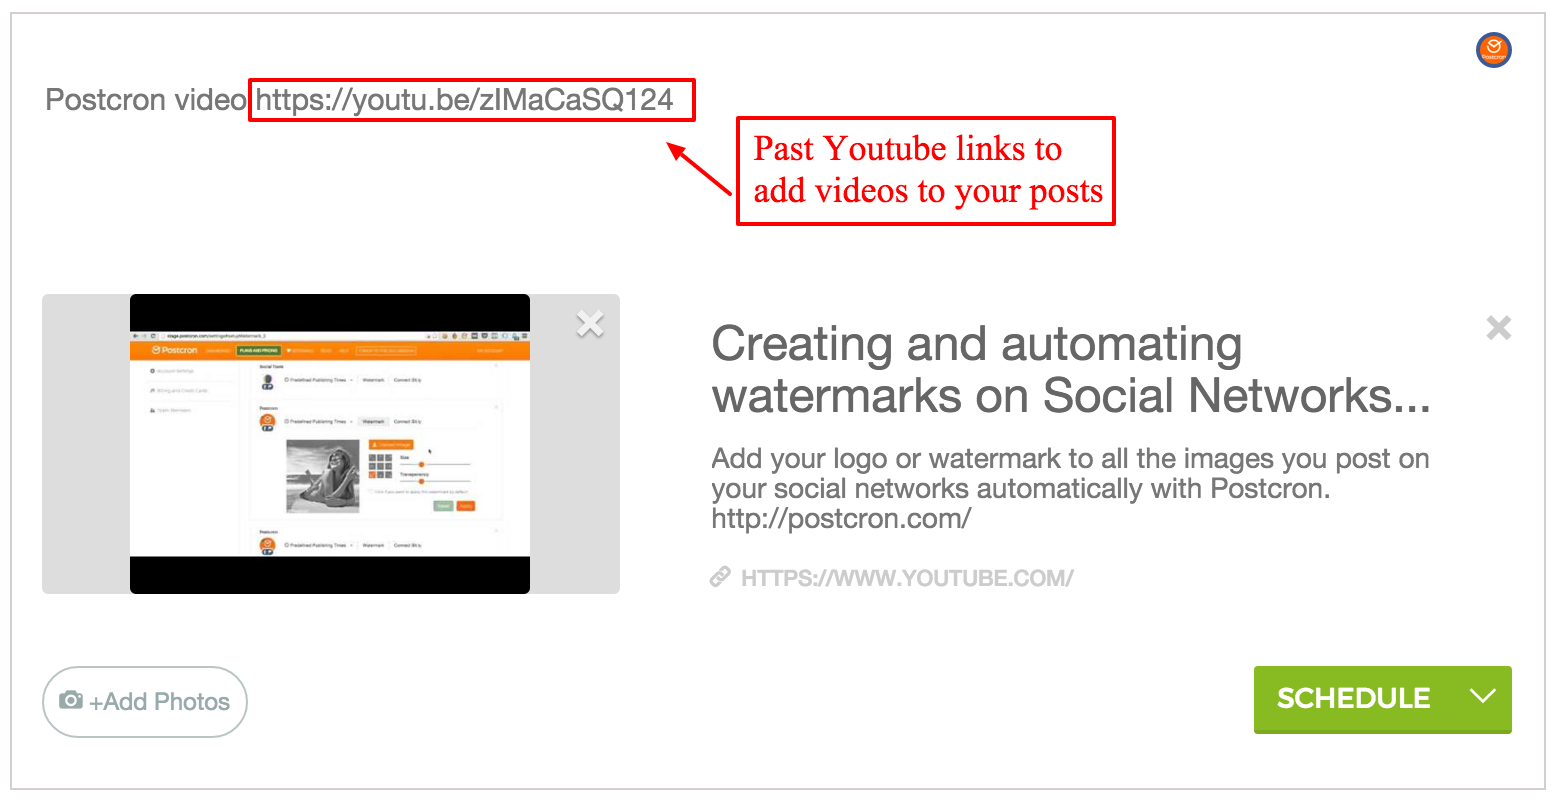
You can also share videos in your posts. To do this you simply paste the YouTube (or the site where your video is hosted) link:
STEP 4: When you have finished composing your post, it’s time to publish it. To do so, you have several options: First, you can share it immediately by clicking the drop-down menu next to the “Schedule” button, and click the “Post Now” option.
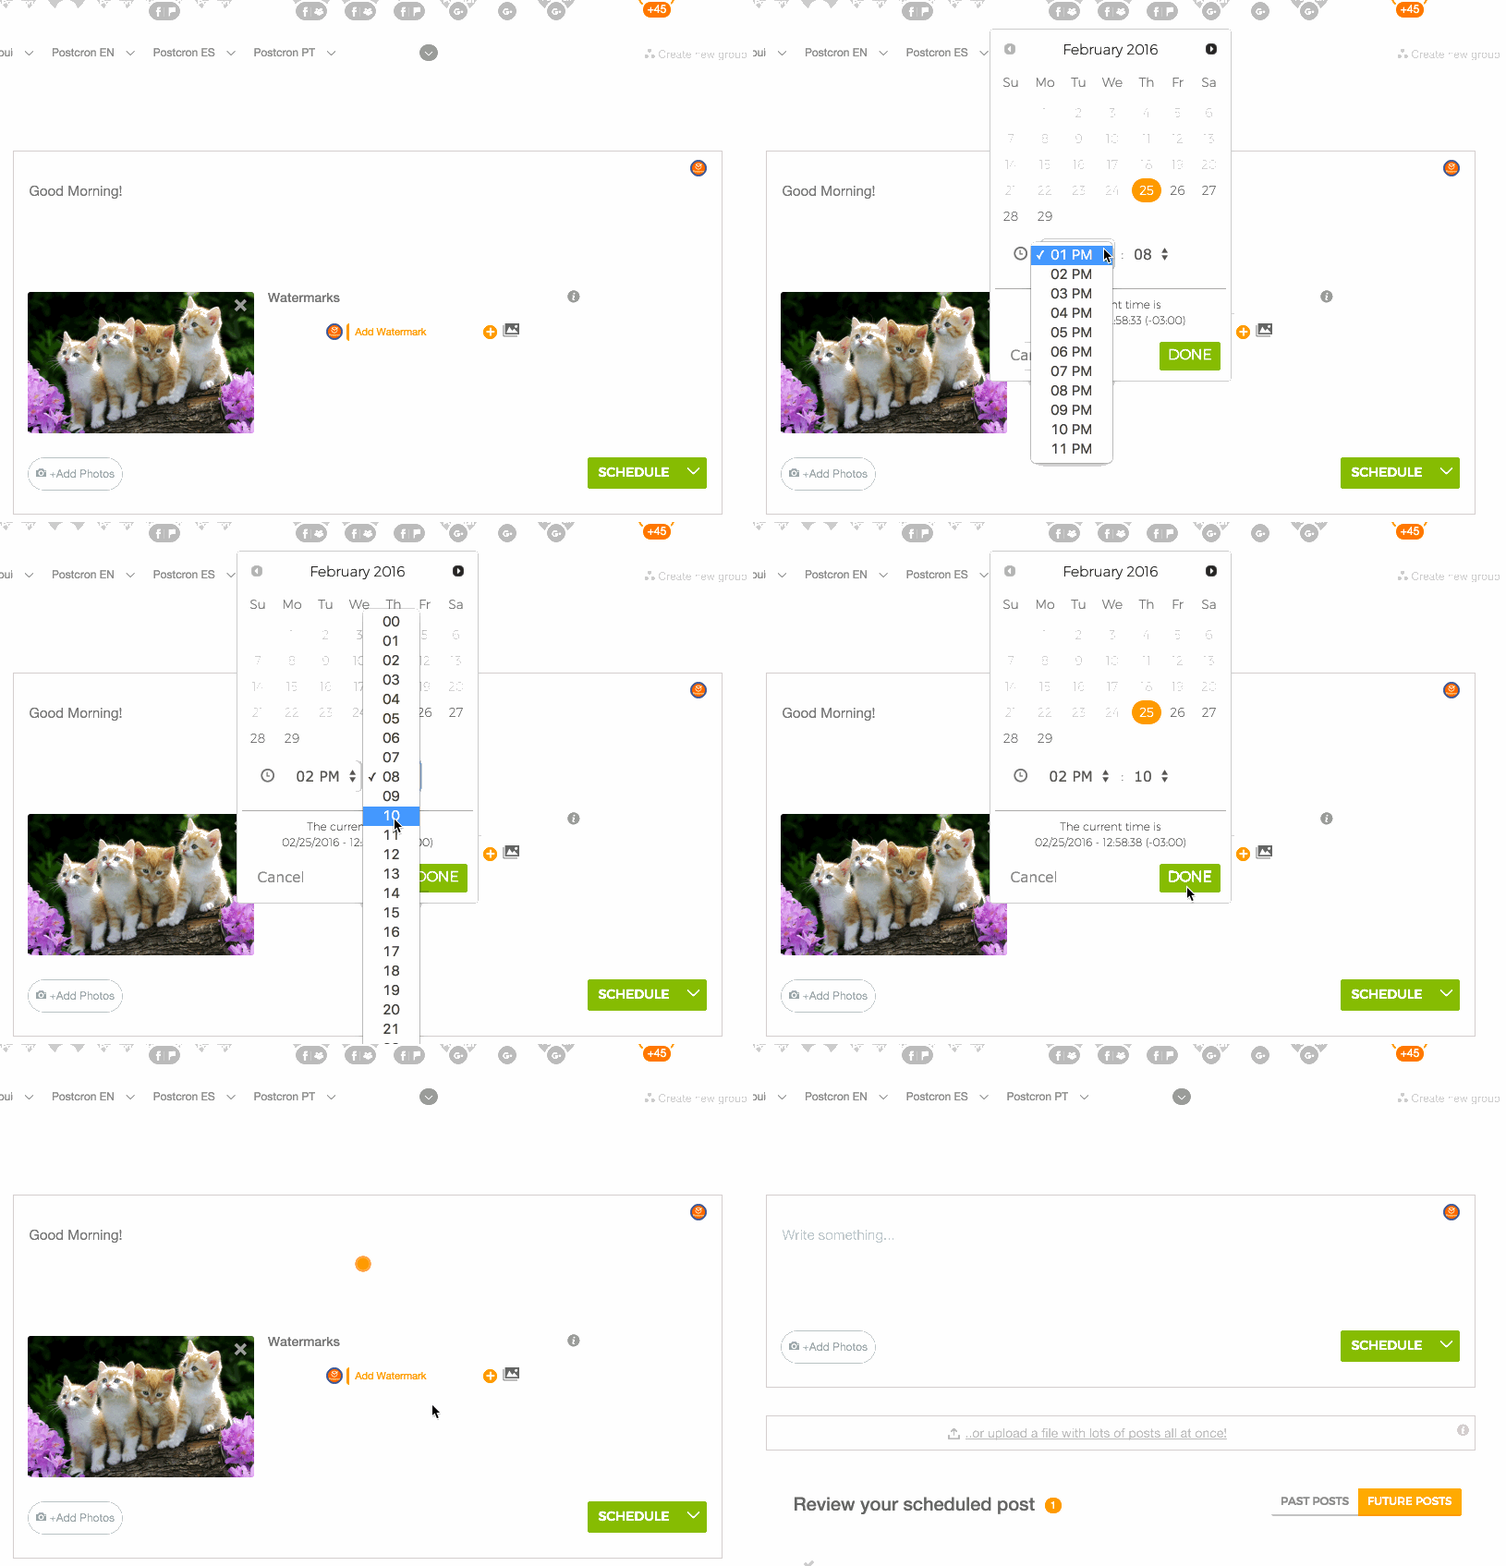
You can also schedule your post to be published within days, weeks, or months, from now at any specific time you decide on. To do this, click on the “Schedule” button then pick the day and time you want it to be posted and click “Done“. That’s it!
Another option is to “Schedule in Predefined Publishing Times”, which is an ideal way to cut down on a lot of work time! This feature will be explained in the post “Set up your Predefined Publishing Times”
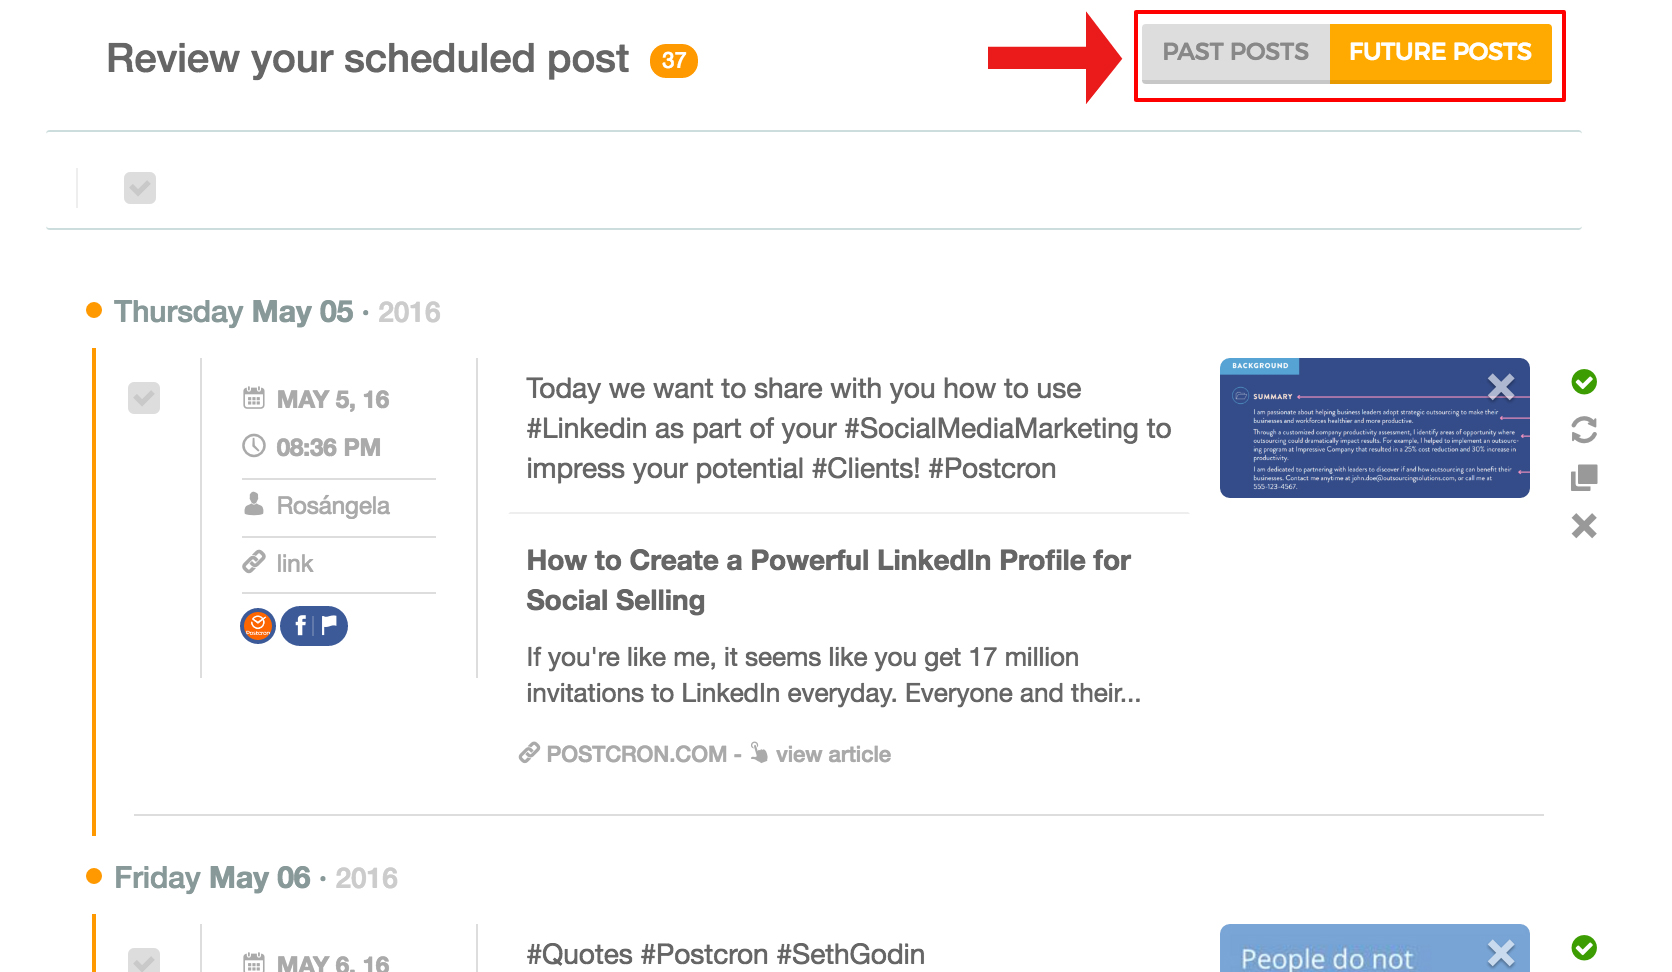
STEP 5: Once you have finished creating and uploading your posts, you’ll be able to review the posts you have scheduled. To do this, click “Past Posts”(in order to see the ones that have already been published) or “Future Posts” (to review the ones you have scheduled to be published from now on), as shown below.
Want to make your work even easier and save hundreds of hours managing your social networks?
Don’t forget to read these blog posts where we explain how to get the most out of the new features on Postcron:
- Set up your Predefined Publishing Times and schedule your posts during the best times for your audience with just one click.
- Automatically add watermarks to all your images
- Post hundreds of posts in minutes via an excel spreadsheet using the Bulk Uploader
- Find the best content recommendations for sharing on your social networks with just a single click
- Link your RSS feeds with Postcron to make it easier to share your blog posts
- Use the social content search engine to find images and videos on Instagram, Youtube, Pinterest, and Flickr
- Add teammates to easily manage accounts together
- Chrome Extension
If you want to learn more about these features, I invite you to watch the following video, where our CEO shows you how to use and make the most of Postcron:
Surely you will discover more and more features as you use the tool. I hope to see you sharing posts soon and generating content for your audience!
Do you have any questions? Leave us a comment or contact us via the “Support” option on the platform. We look forward to hearing from you!
