As you know, Postcron allows you to schedule your posts ahead of time which helps you save time working on social networks, and making sure all your accounts are kept up to date. In today’s post, I will show you how you can take convenience to the extreme, using the the Postcron Extension for Chrome.
To do this I will show you step by step how to install and start using the the Postcron Extension for Chrome, so you can get the most out of your time spent browsing. With this tool you can schedule posts directly and quickly from any page that you find yourself browsing.
Why should you use the the Postcron Extension for Chrome?
There are many reasons why you should use this tool and take advantage of its enormous practicality, including:
The Postcron Extension for Chrome lets you schedule posts with the content you find while browsing, directly from the page where you are without having to leave the page.
That way, you don’t have to waste time signing into your account whenever you want to schedule something. In turn, you get more out of your time spent navigating the web. In effect, our extension allows you to schedule or immediately publish any photo, interesting article, or video you want to share with your audience while you surf.
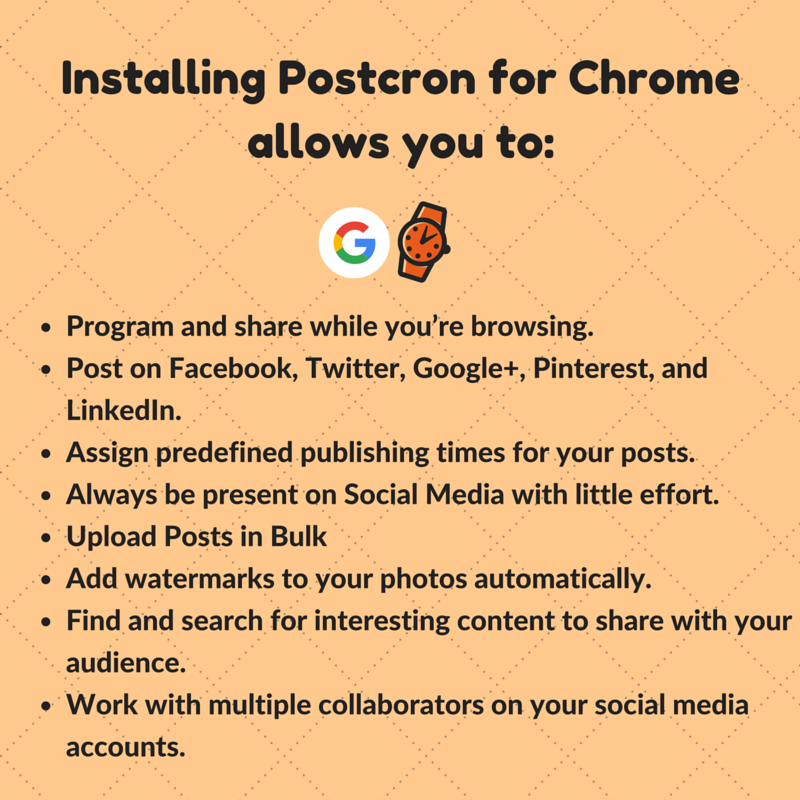
Here is a list of the main functions the Postcron Extension for Chrome has for you:
Also, once you’ve installed the Postcron Extension for Chrome to your browser, the special buttons that are added let you:
- Post directly from the extension to your social networks.
- Post from Facebook.
- Post from Twitter.
- Post anything by right clicking the mouse.
- Post images hosted anywhere directly from the site you’re on.
As you can see, our extension is ideal for Community Managers, Social Media Managers, freelancers, digital marketing agencies, entrepreneurs and anyone who wishes to be present on social networks without complications.
Now that you know what the purpose of this tool is, I want to show you how to use it. If you want to learn more about how the rest of Postcron works, you can consult this tutorial.
How to use the Postcron Extension for Chrome: Step by Step guide
a) Install the extension
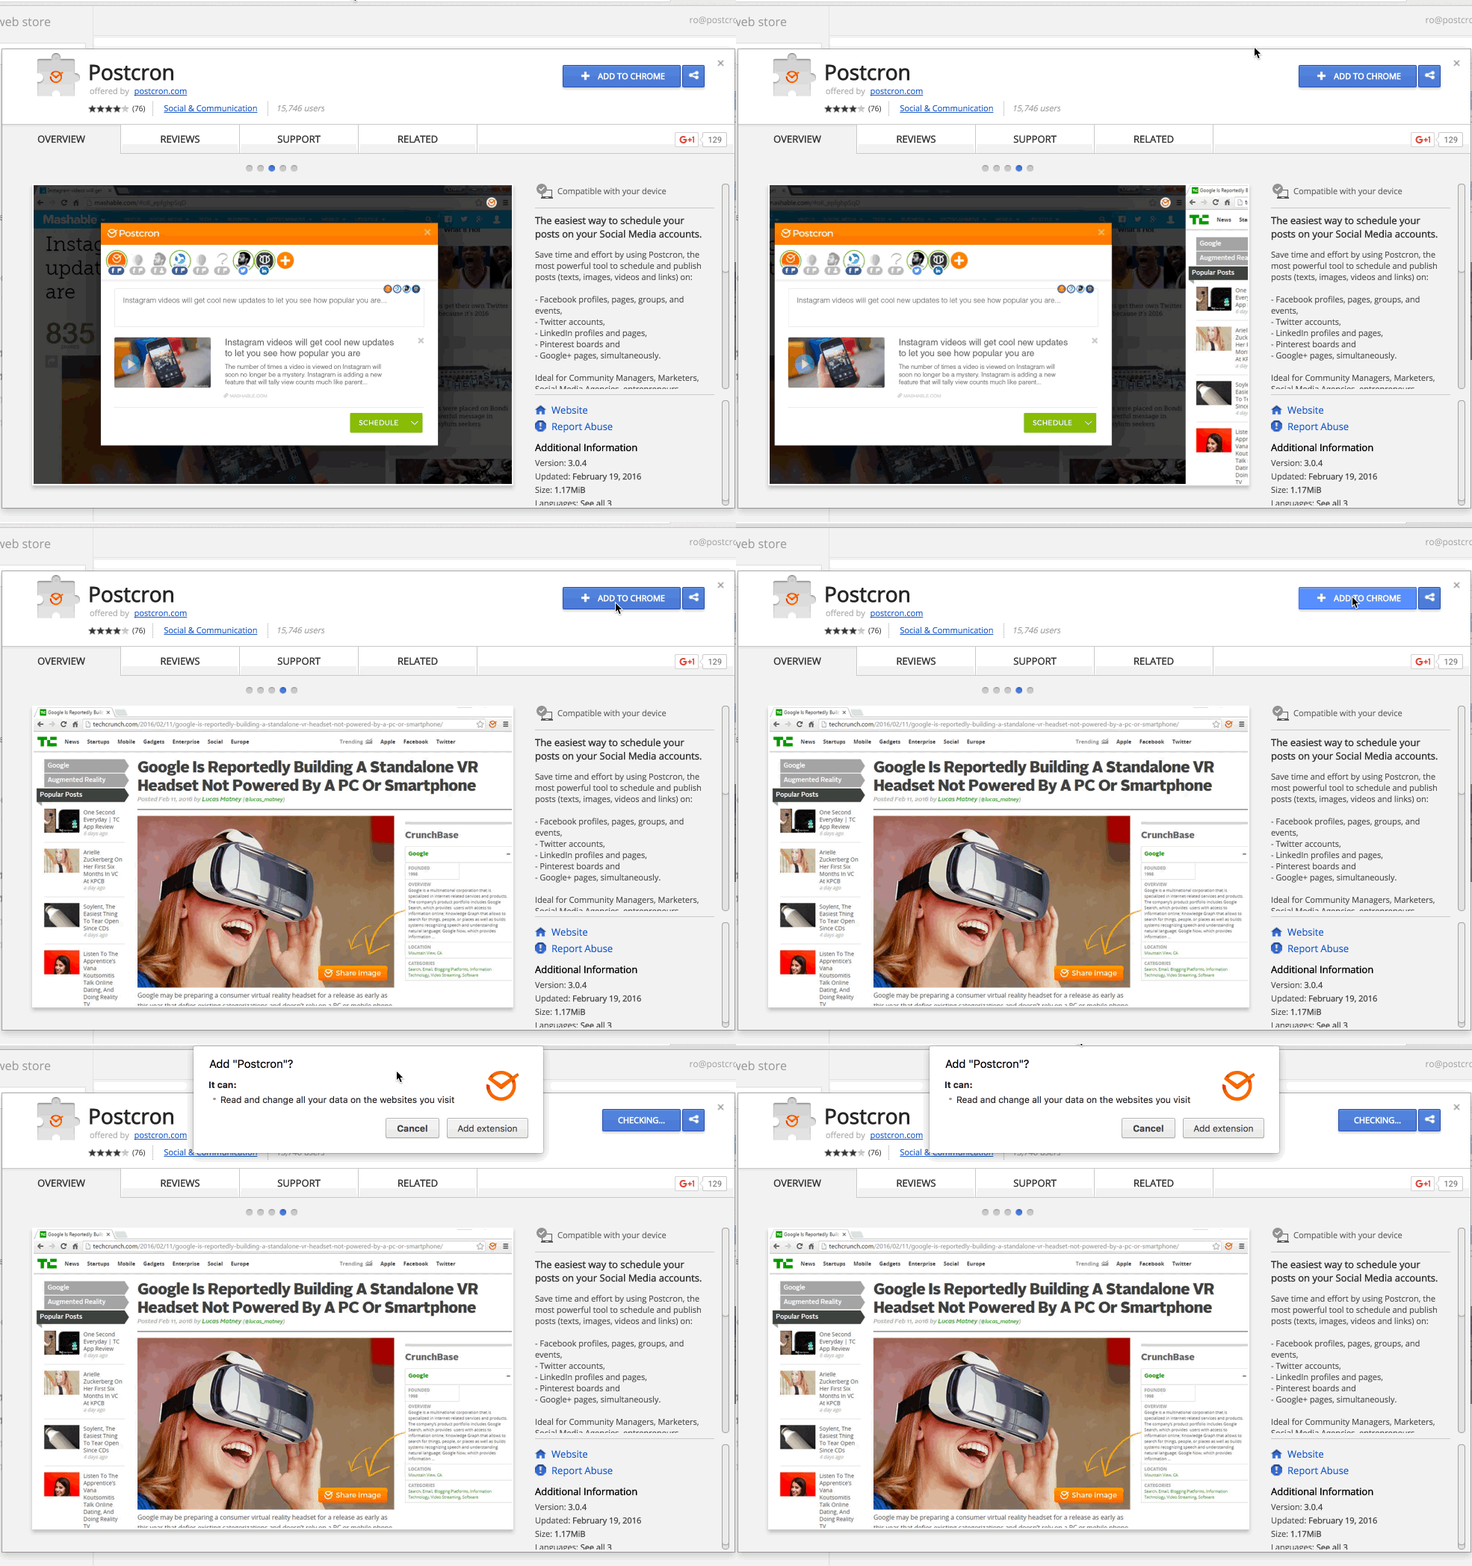
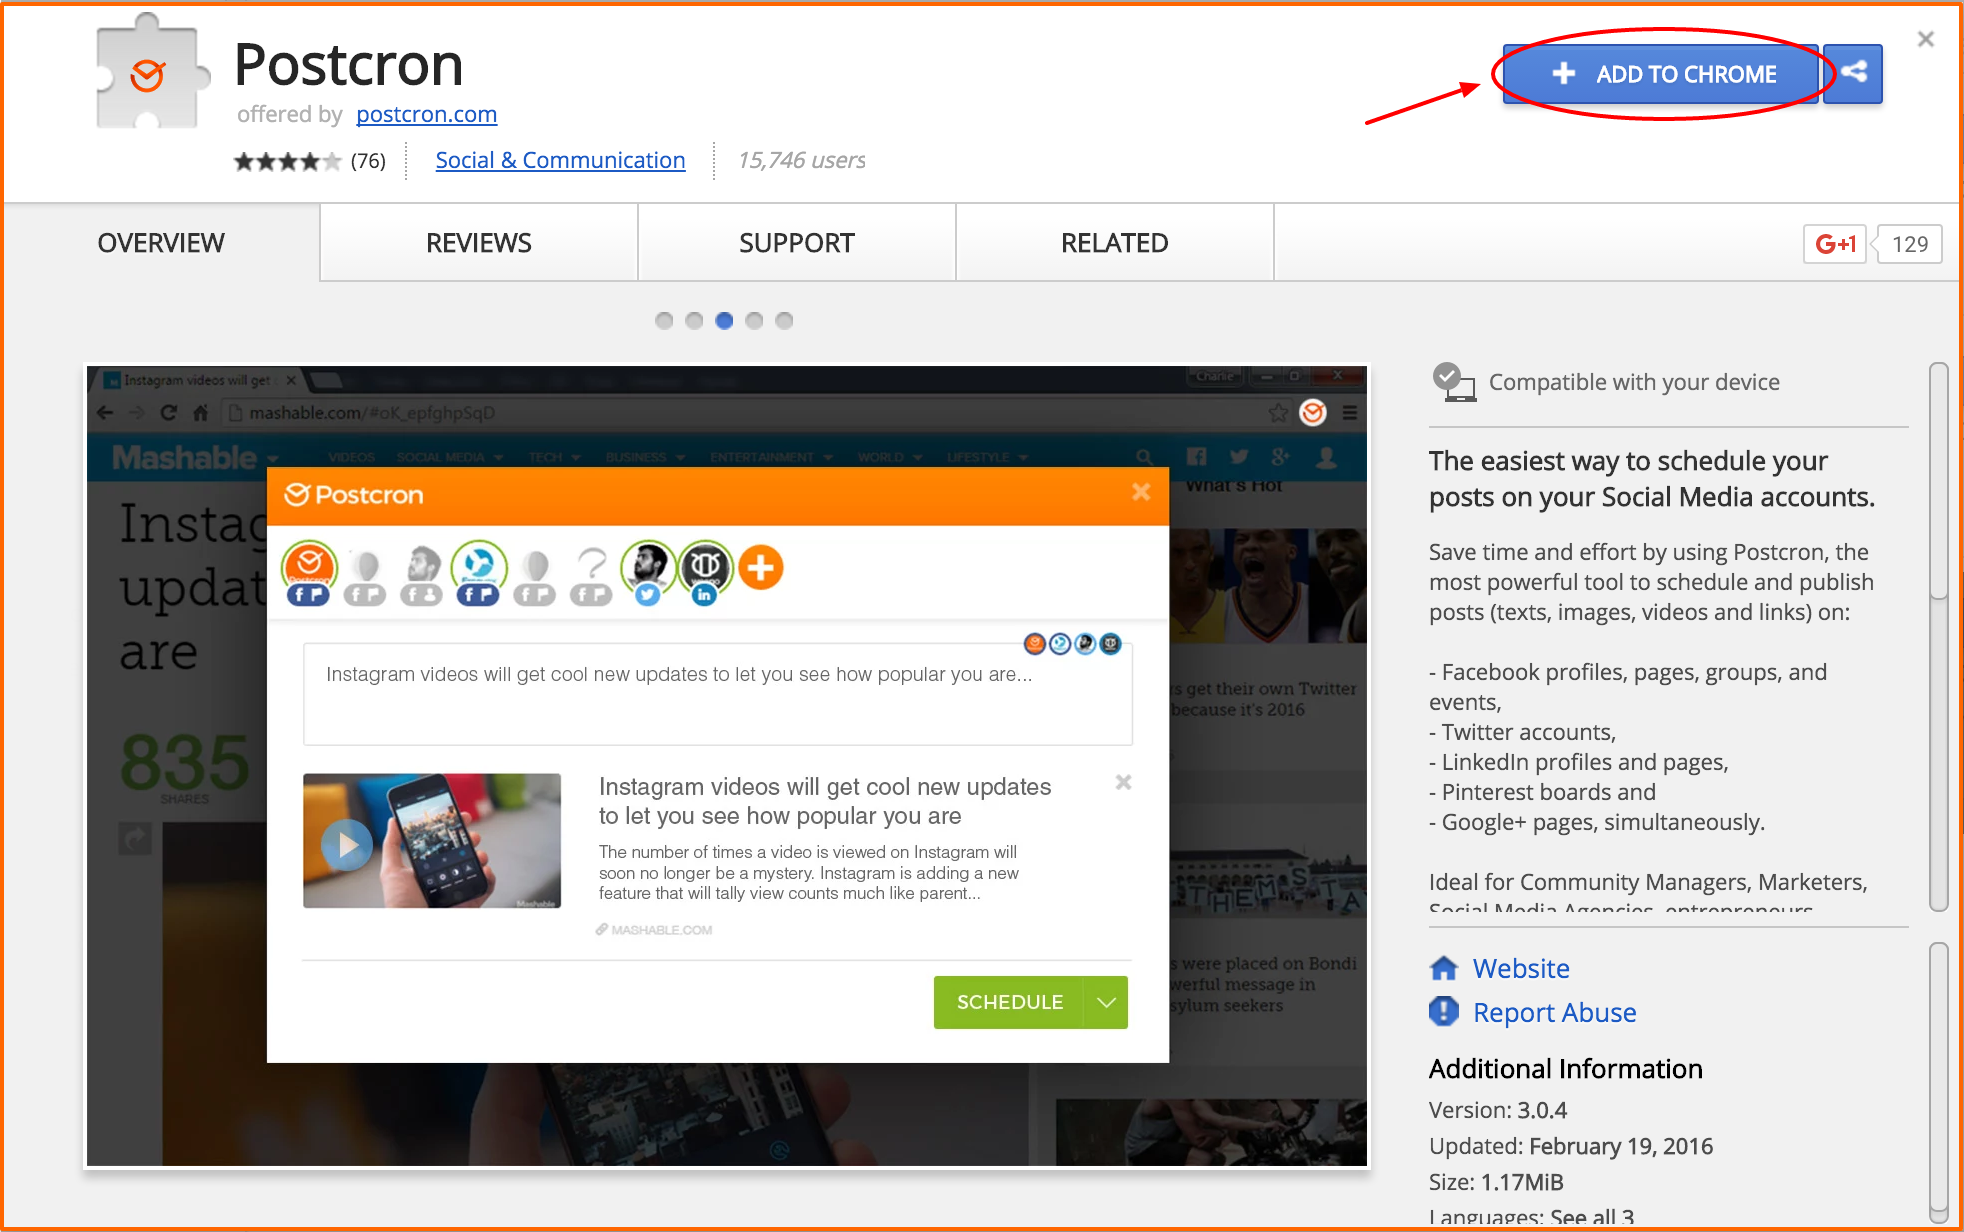
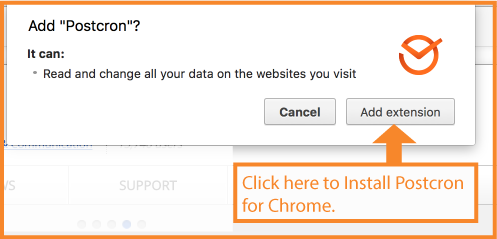
1- Click on this link and click “Add to Chrome“.
2- Click “Add Extension“.
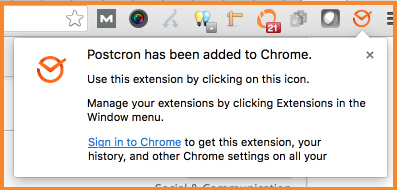
3- A confirmation will appear to inform you that the extension is now available. That’s it!
b) Share or Schedule Content from any web page
Now that you already have Postcron Extension for Chrome on the browser, you’re ready to start publishing or scheduling posts directly while browsing. To do this, follow the steps below:
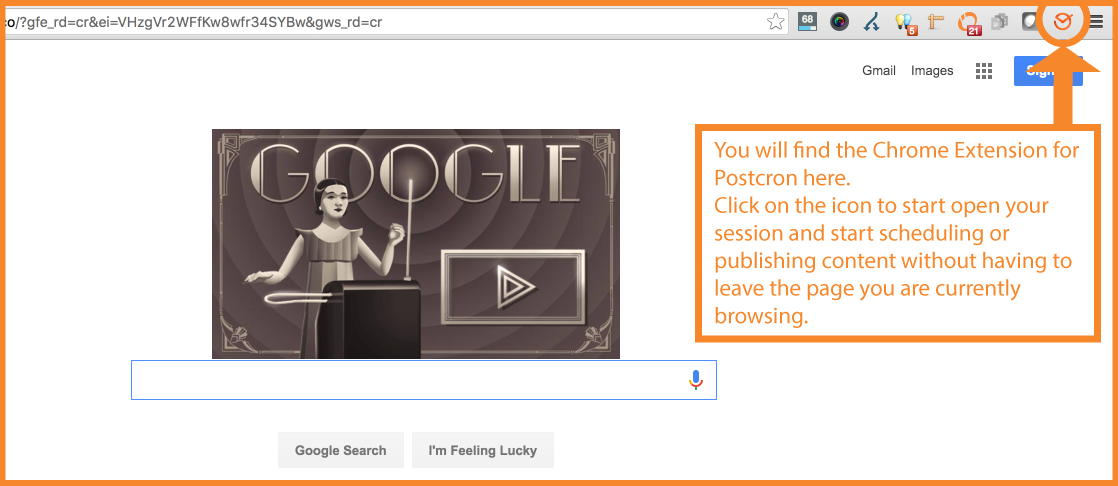
1- Log in to Postcron if you haven’t already. To do this, click on the Postcron icon (extension) you’ll find on the upper right edge of your browser:
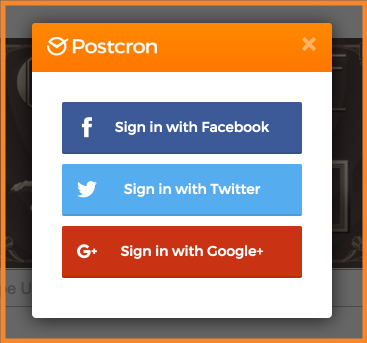
Then click on the Social Network you want to start your Postcron session with:
2- You can now schedule or share any content you find on any page or Social Network with your audience while browsing. Below, you can see an example of how to share a video directly from YouTube.
To share from YouTube, simply click the Postcron Extension for Chrome button while you’re on the page of the video you want to share. Then, the Post Editor of Postcron will pop up and let you choose the accounts you want to publish (by clicking the circular icons just above the text editor).
You can also change the title of your video, schedule it to be posted later, or publish it immediately:
Important: Keep in mind that the examples cited, like the one that you have just seen, or the ones below are only an illustration, since you can actually use the Postcron Extension for Chrome while browsing on ANY social network or website.
3- You can also schedule or share tweets with your audience as you scroll through your timeline. To do this, just right click with your mouse on the tweet or photo your interested in and hit “Share image with Postcron“. You can see an example of how it’s done in the GIF below:
4- To schedule or share a Pinterest Photo with your followers, all you have to do is put your mouse over the picture and click on the Postcron icon that appears on top of the image. You can see how it’s done below:
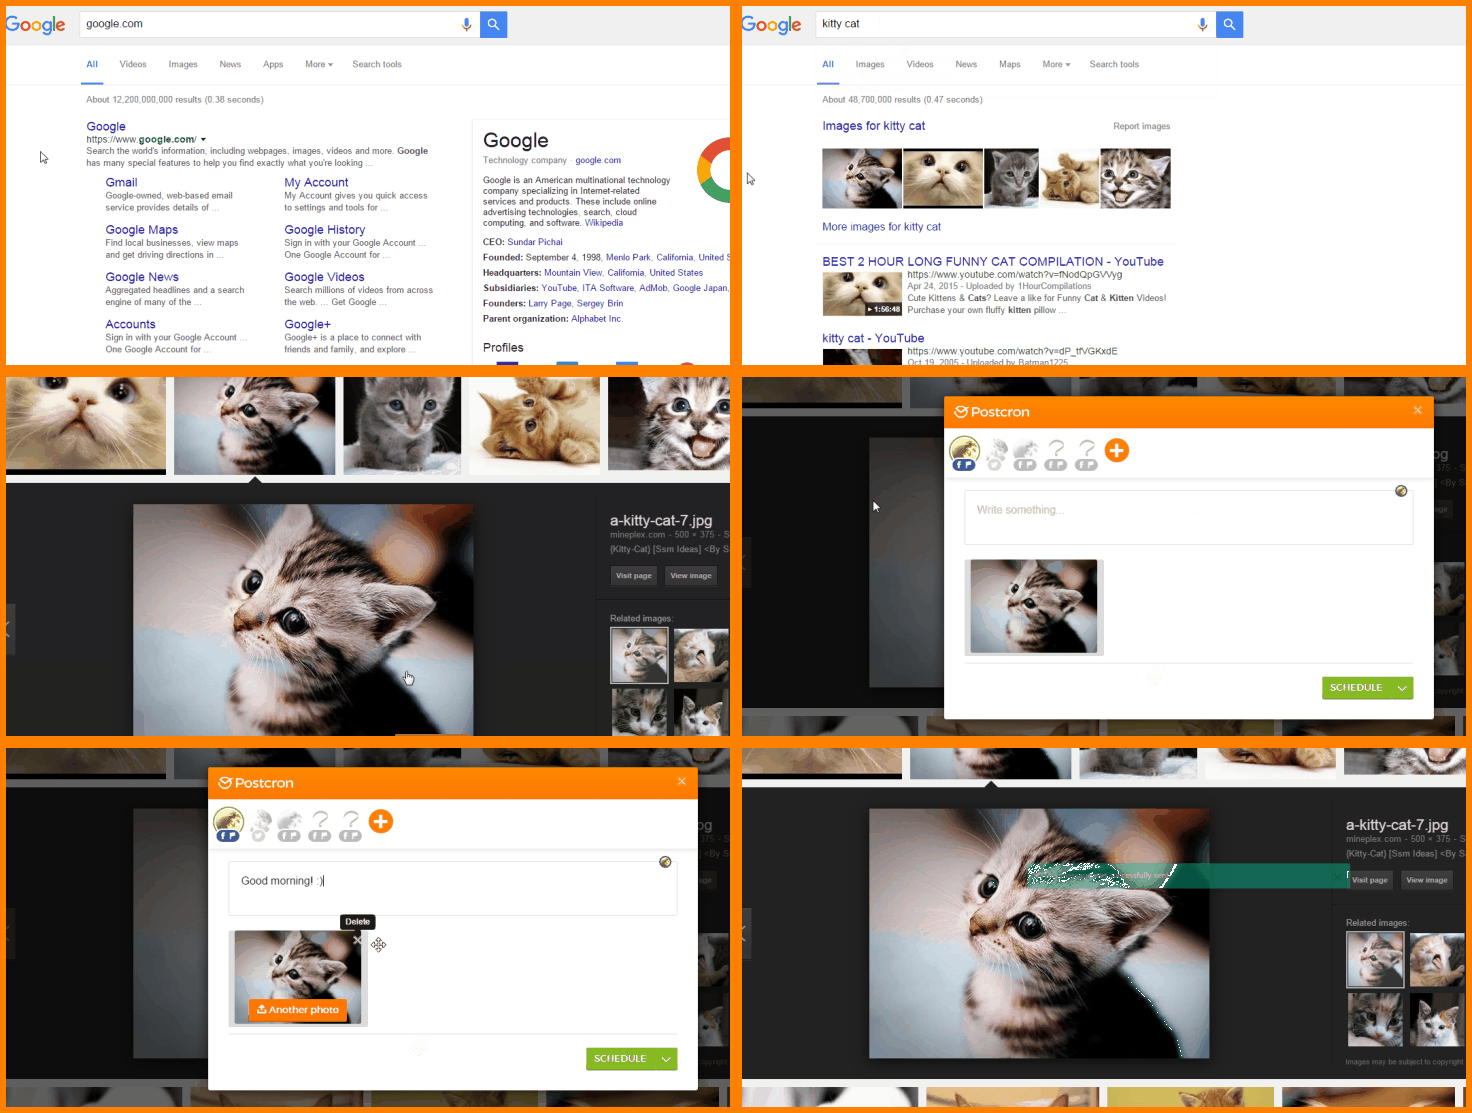
5- You can also schedule or share a photo from Google’s search results:
I hope this tutorial has helped you learn how to use the Postcron Extension for Chrome, so that you can make the most out of your time spent browsing and save valuable time while working on Social Media.
Did you find this article helpful? Did you already know about the Postcron Extension for Chrome? We want to hear your opinion of it! And please remember to share this blog post with all of your contacts. Until next time! 😉
